Getting Started with Microsoft Phishing Simulator - A Beginner’s Guide
If you are looking for a great way to assess phishing risk, train users, and evaluate their progress through an intelligent risk tool, then you should try the Microsoft Phishing Simulator. If you are already on Microsoft 365, then it as simple as adding the appropriate licenses to your users. If your organization already uses Microsoft 365 E5 licenses, then you already have the Phishing Simulator as part of your license. However if you don’t have Microsoft 365 E5, then you can add the Microsoft Defender for Office 365 Plan 2 for all your employees.
For more information on these licenses, I have included links below.
- Microsoft 365 E5 https://www.microsoft.com/en-ca/microsoft-365/enterprise/e5
- Microsoft Defender for Office 365 Plan 2 https://www.microsoft.com/en-ca/security/business/siem-and-xdr/microsoft-defender-office-365
I use the Microsoft Phishing Simulator for our company, and well as our clients who are on Microsoft 365. In addition to our quarterly end user cyber awareness training, I regularly run simulations to keep the employees sharp. I have found a huge reduction of people falling for phishing scams since the introduction of the training and simulation testing.
In this article, I’ll walk through using the Phishing Simulator, and starting your first simulation. You will need to have the Security Administrator, or Global Admin role to access the simulator.
Login to your Microsoft 365 tenant, at wwwoffice.com.
Open the Admin Center
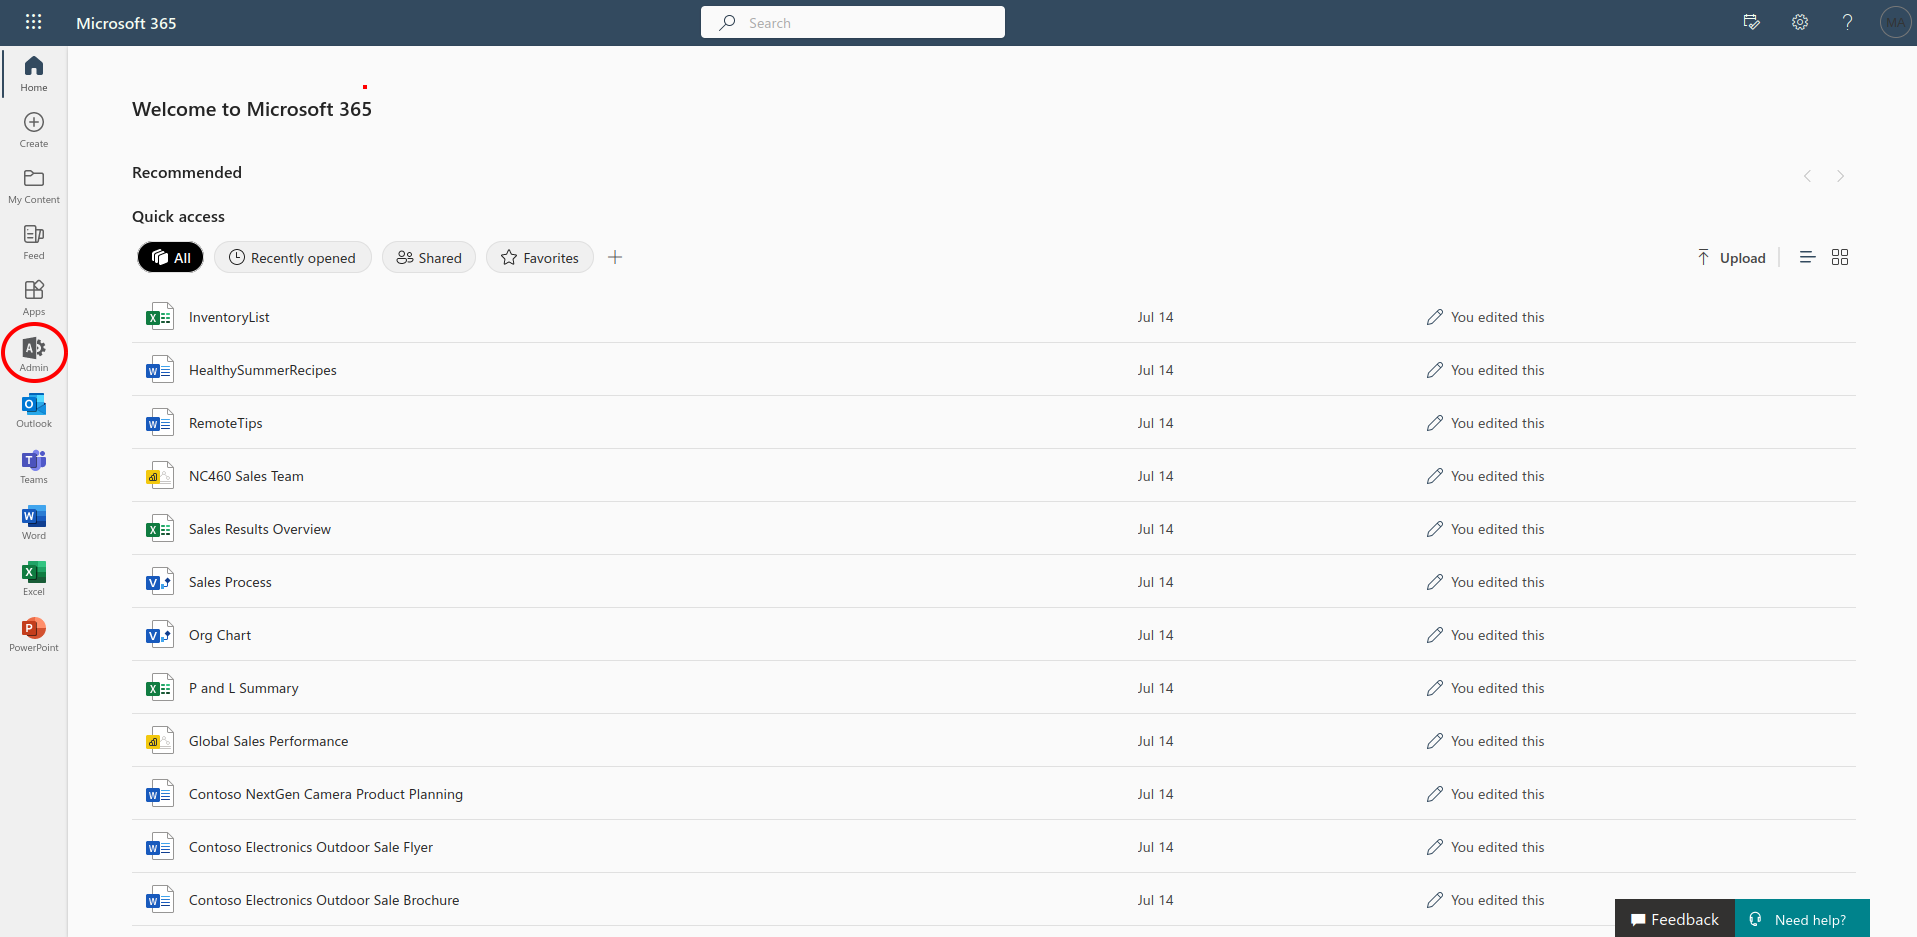
From the Admin Center, select “Show all”.
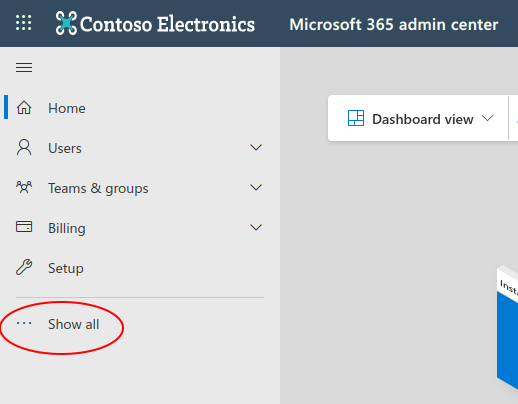
Select “Security”.
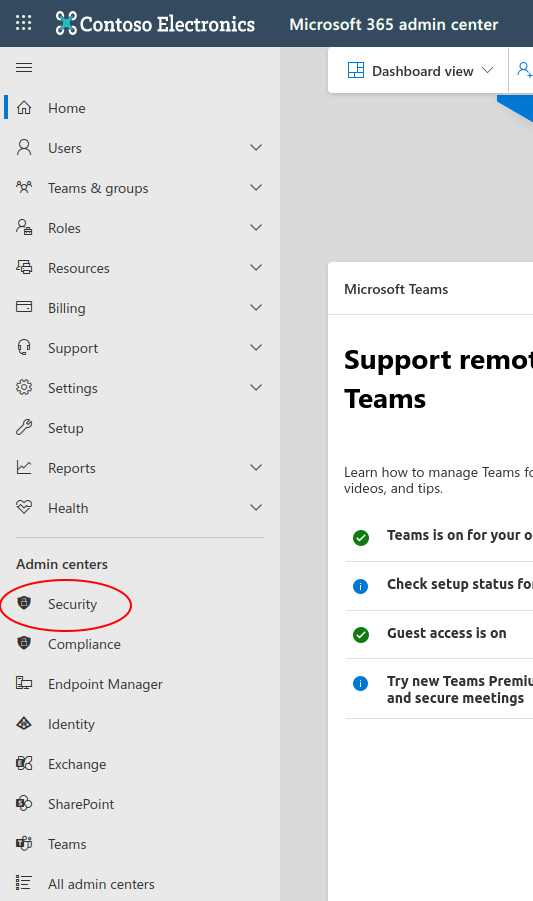
You will now be in Microsoft 365 Defender. Select “Attack simulation training”.
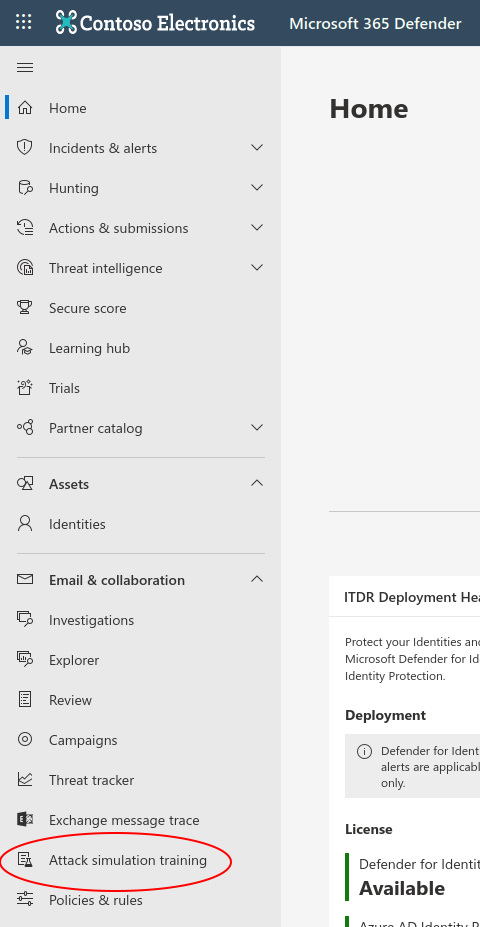
At this point, you are now in the Microsoft Phishing Simulator.
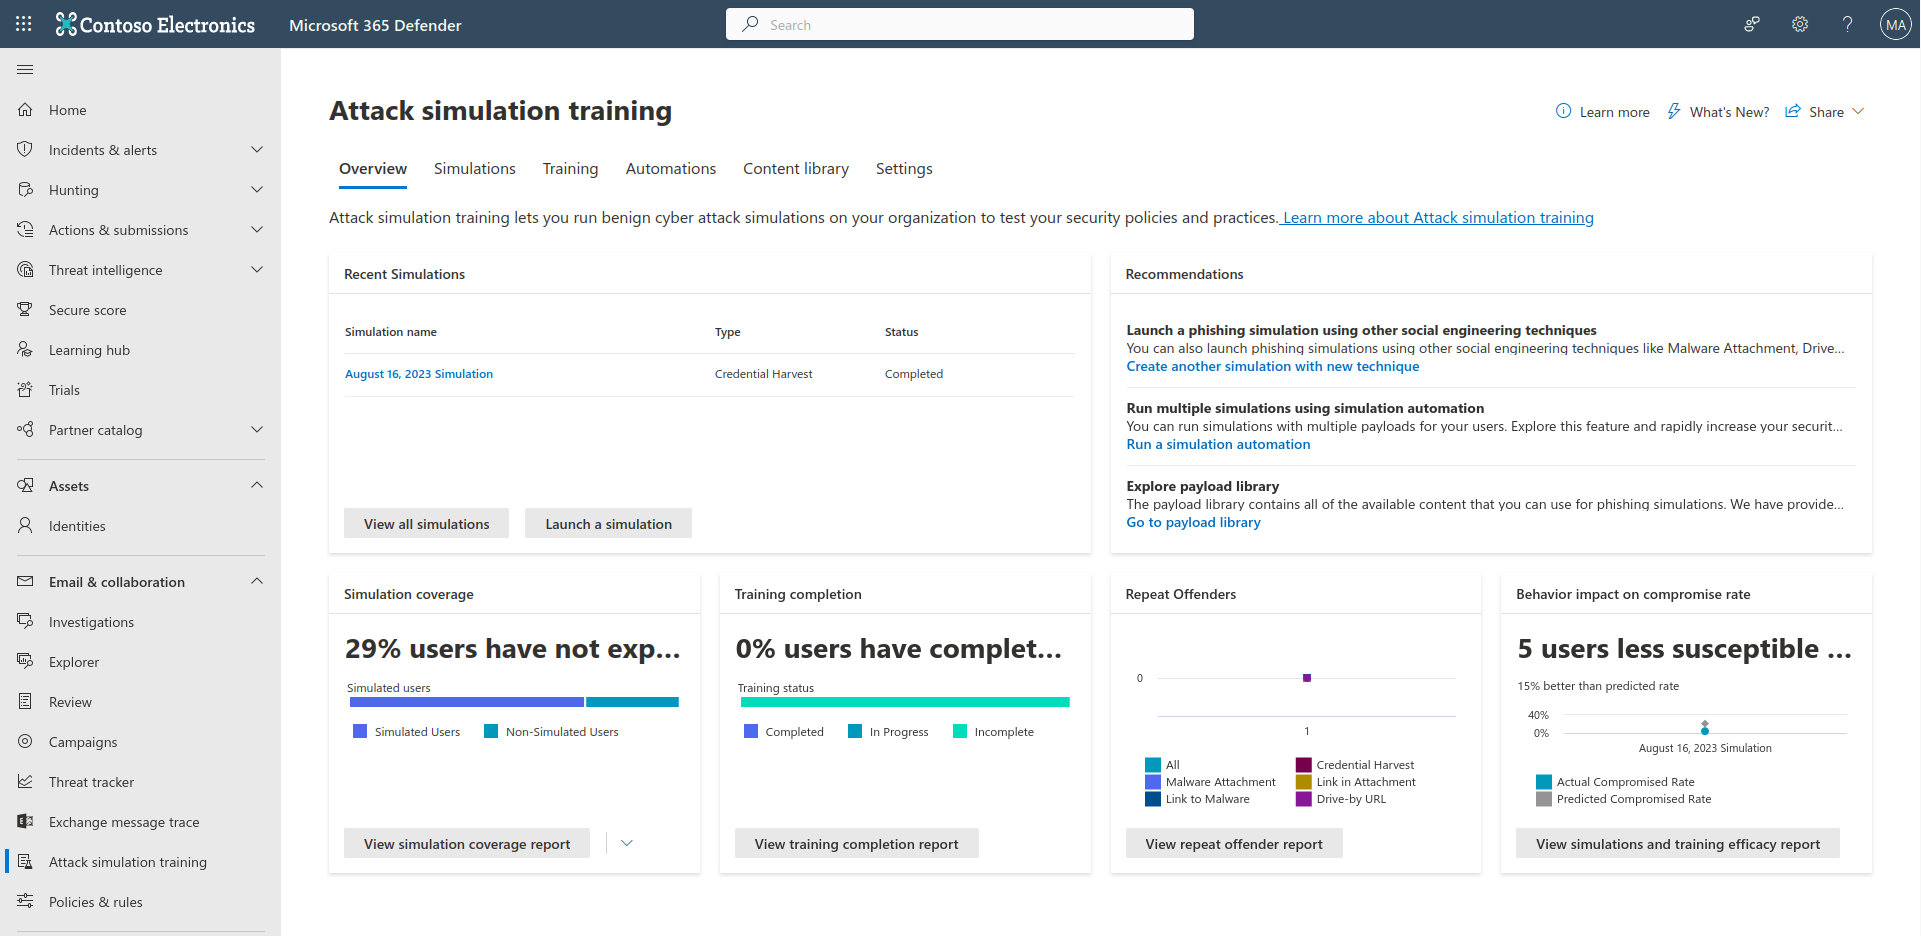
To start your first simulation, click “Launch a simulation”.
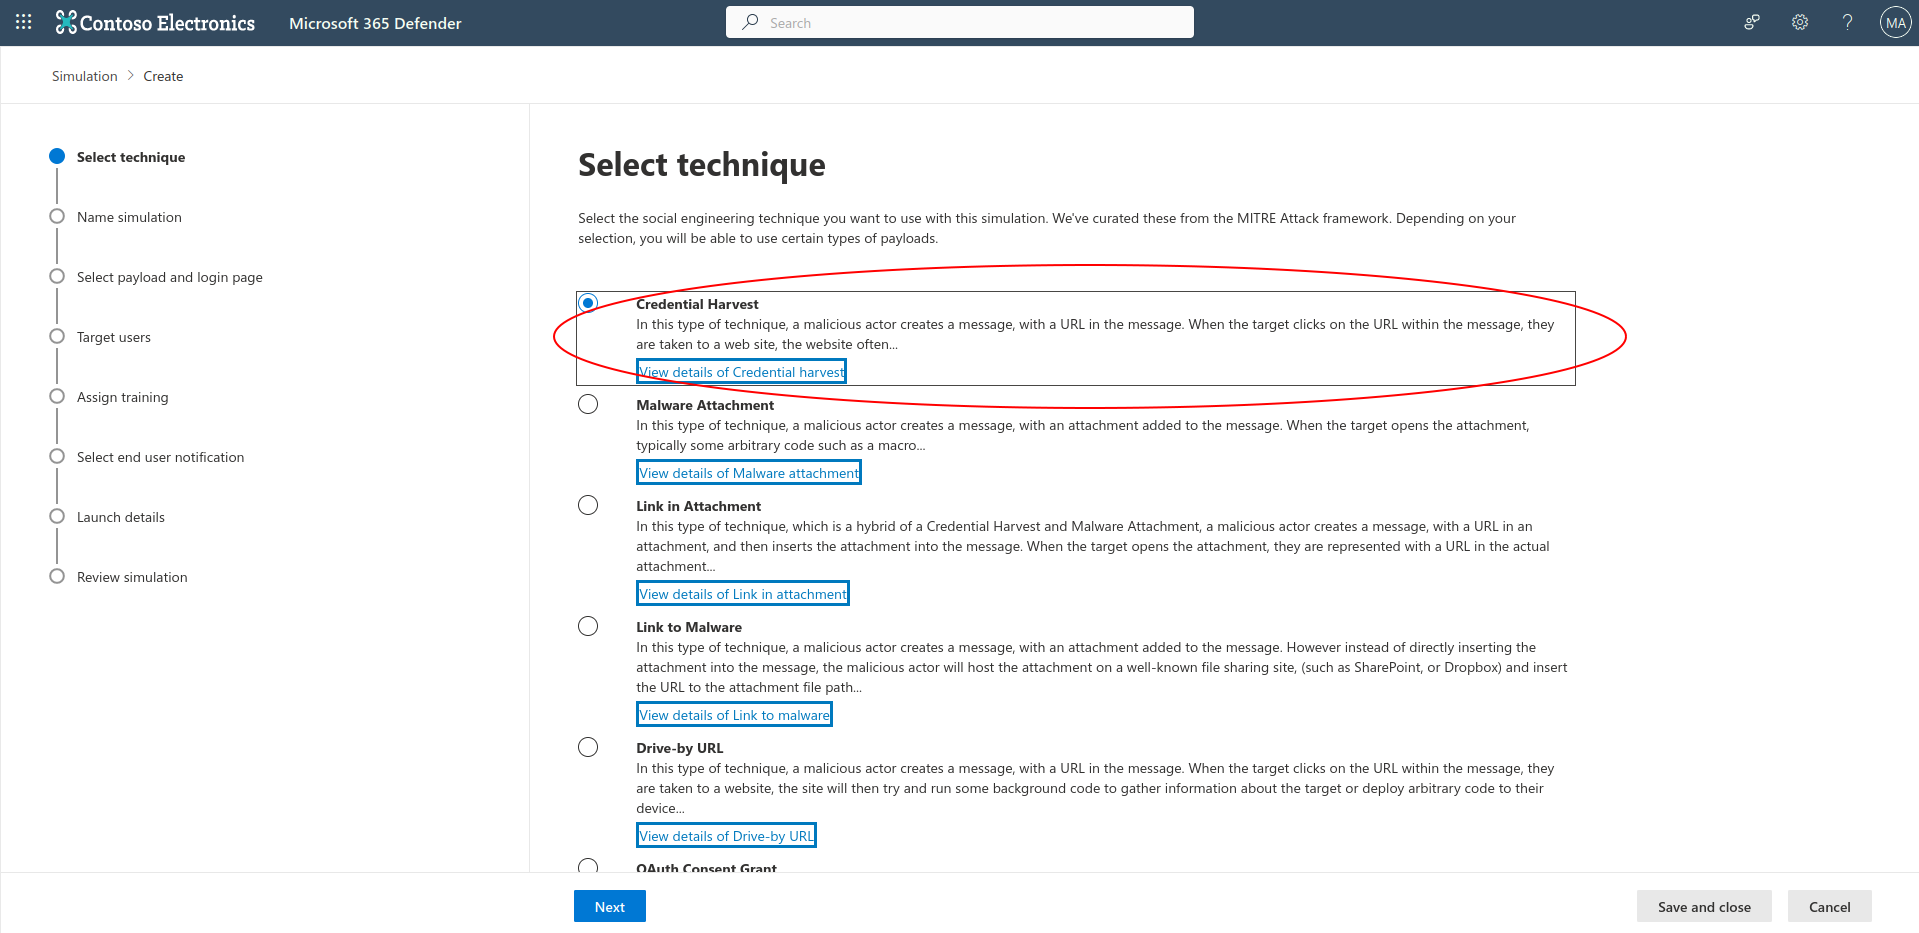
There are several techniques available for you to choose from. In this article I’ll be covering the Credential Harvest technique. Select Credential Harvest, then select next.
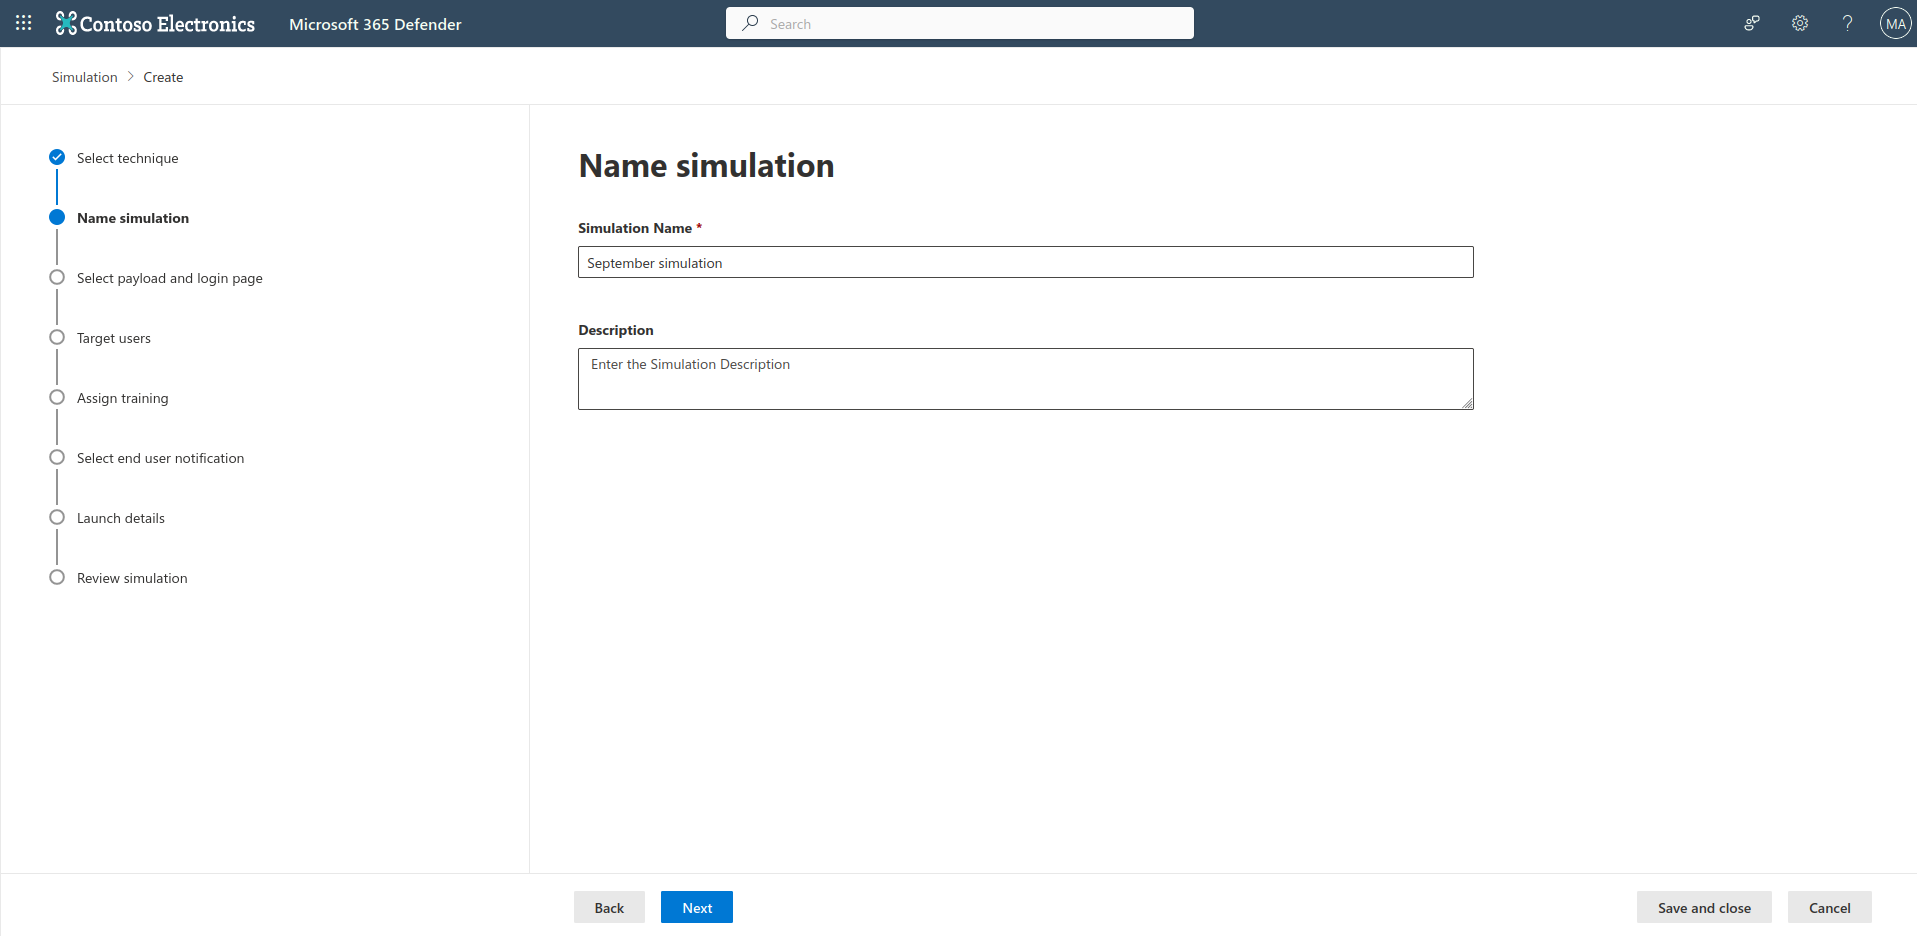
You can now name your simulation, and give it a description, then select next.
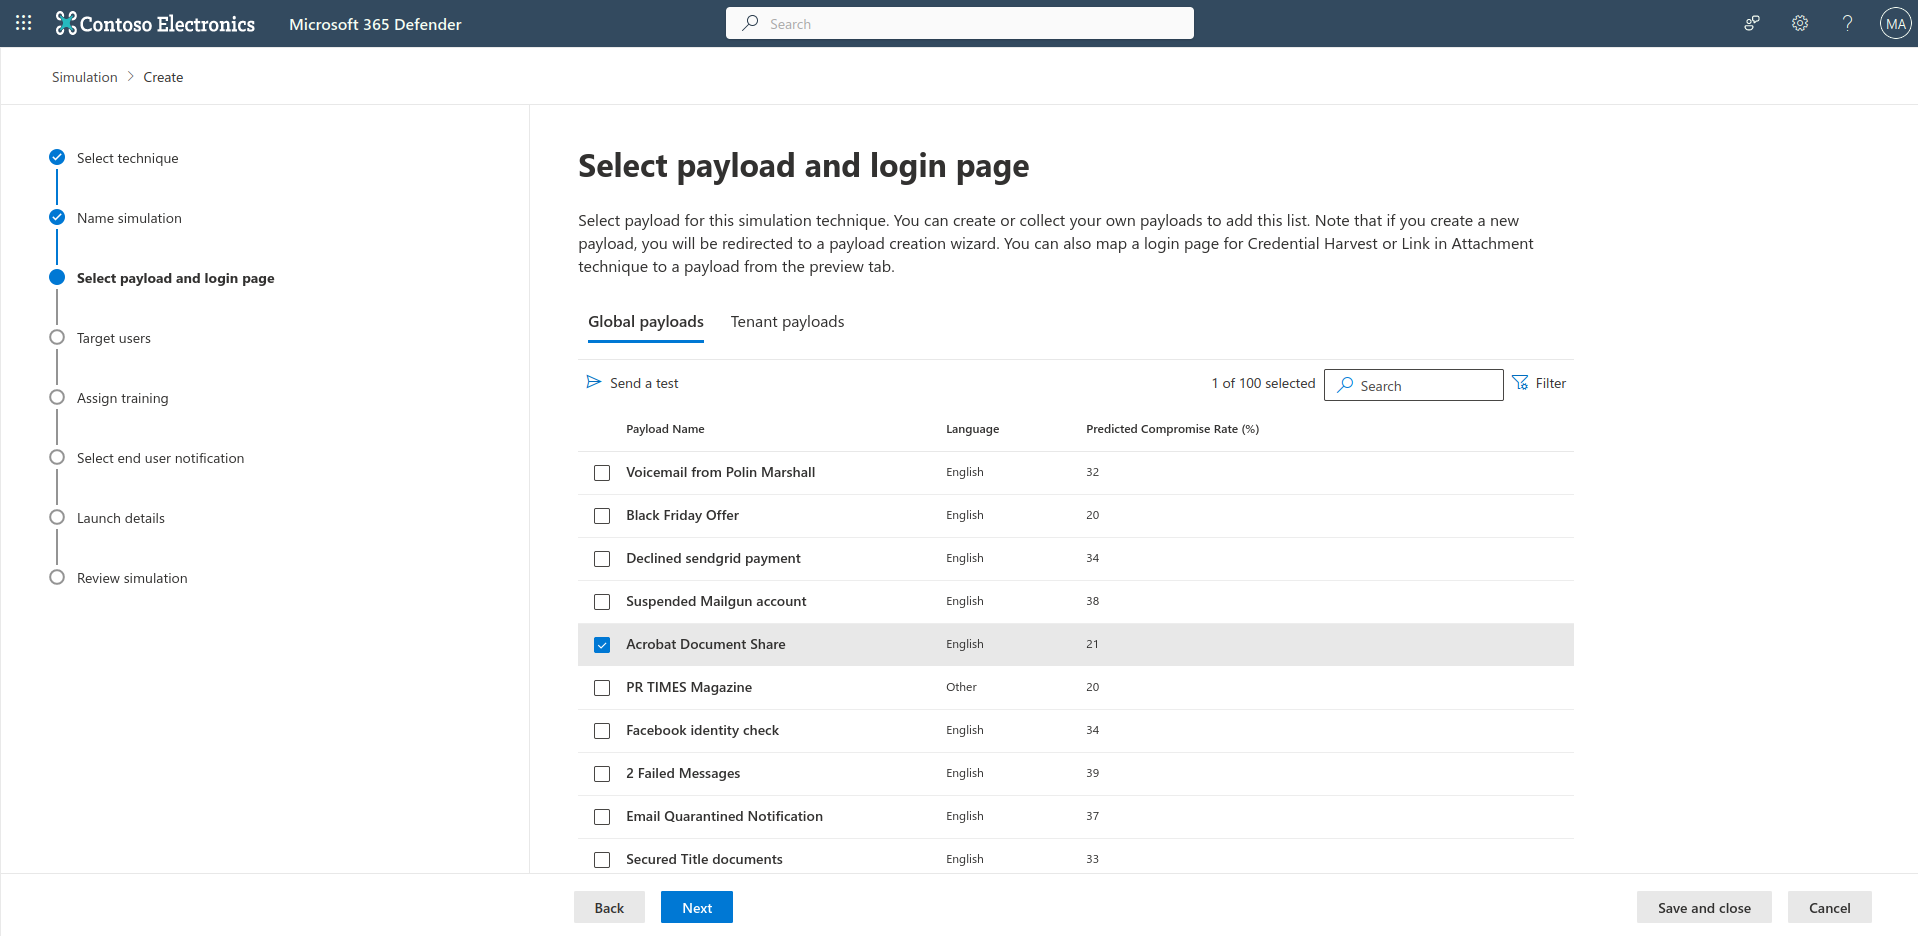
Go through the list, and find a payload you would like to use, and select next.
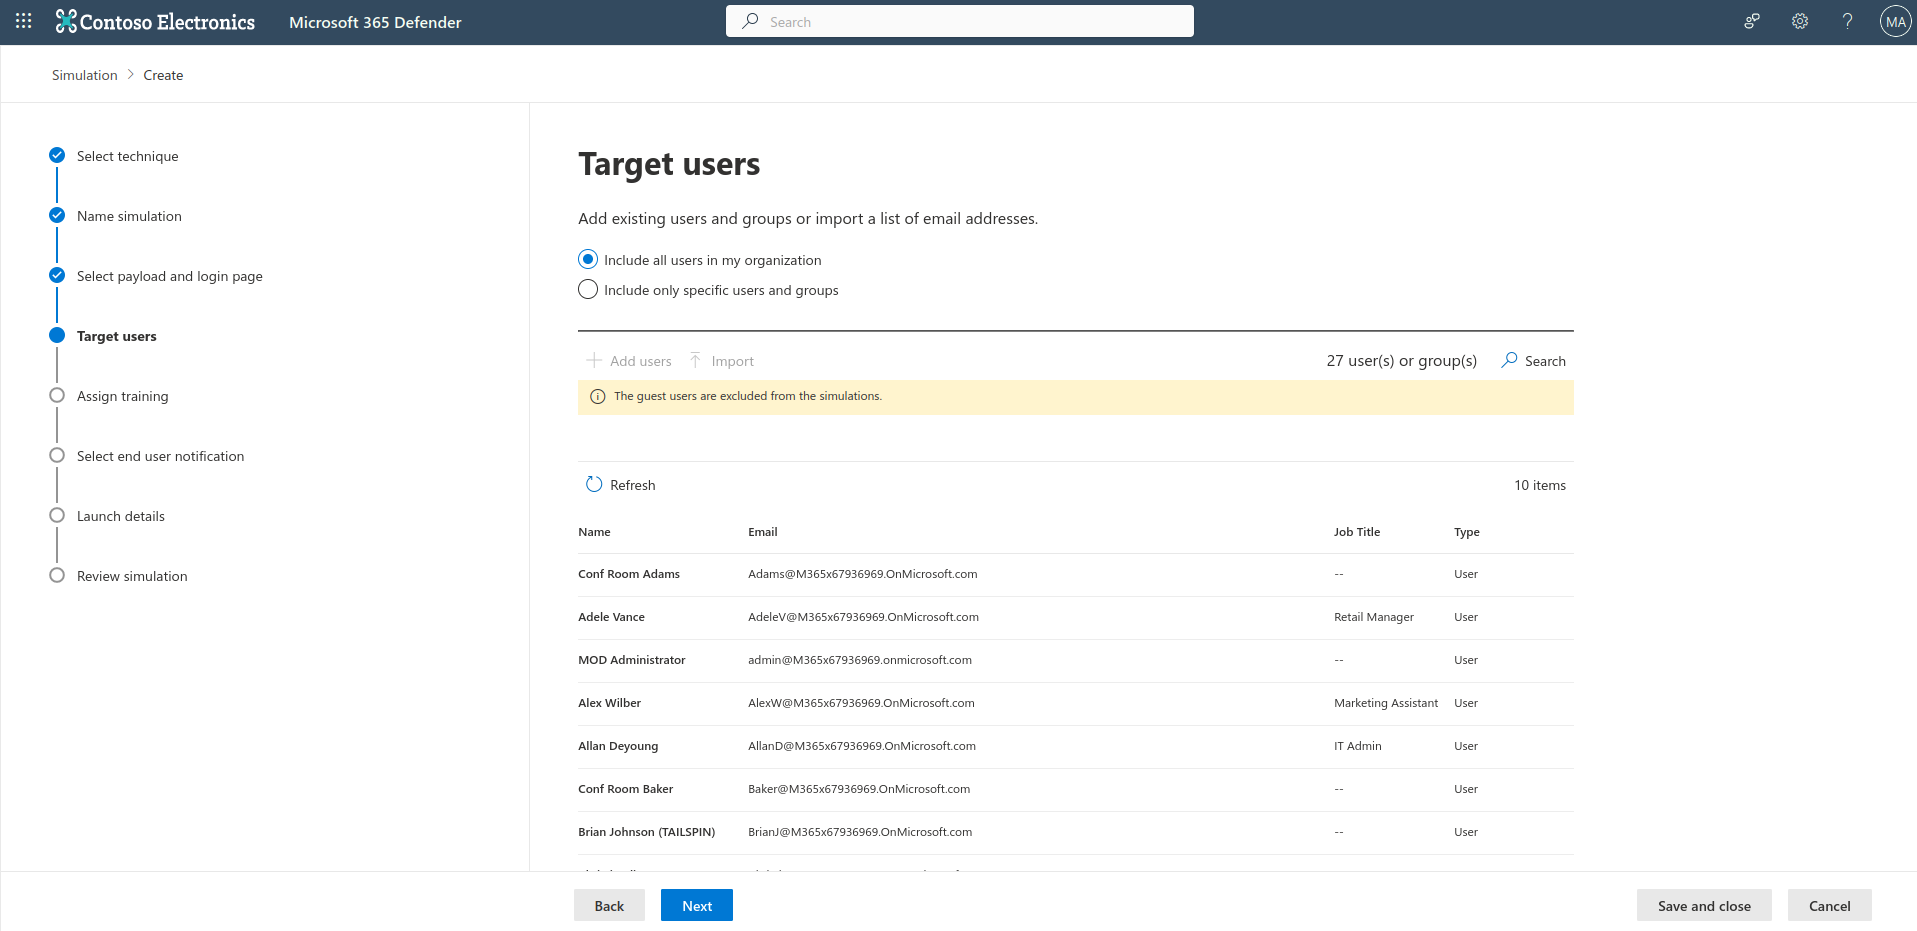
Target users, by selecting “Include all users in my organization”, or “Include only specific users and groups.
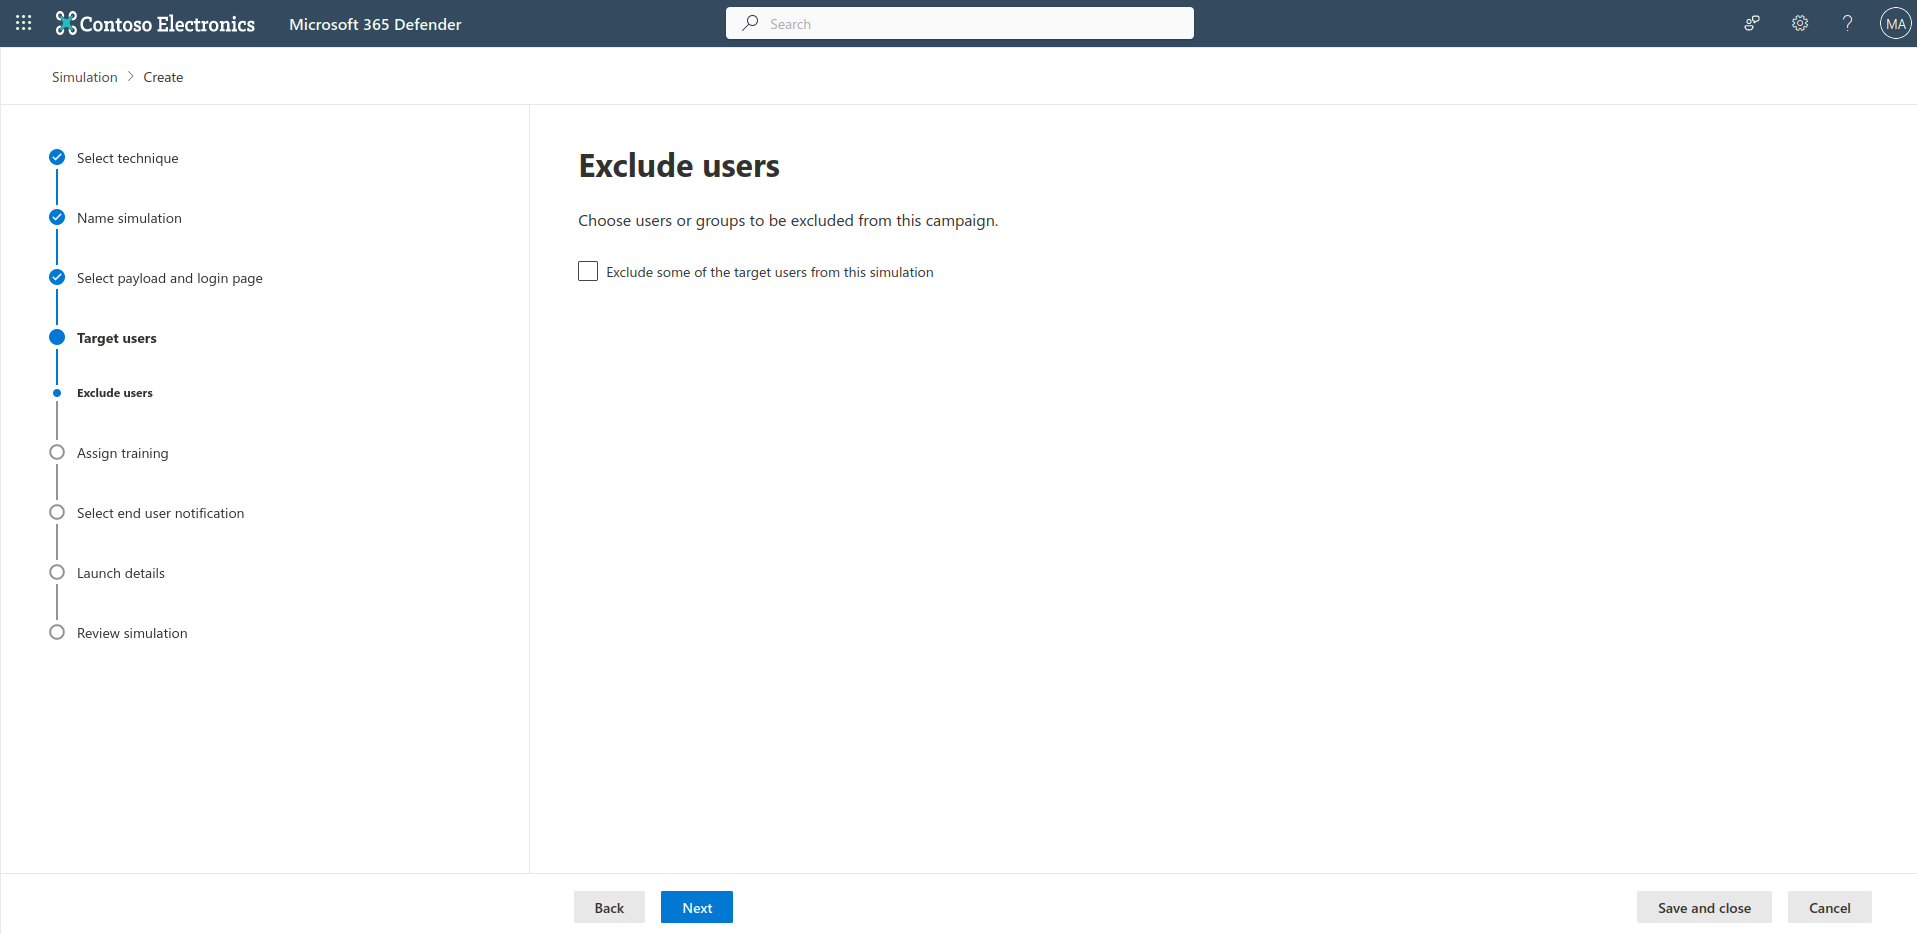
If you would like to exclude specific users, you can do this here.
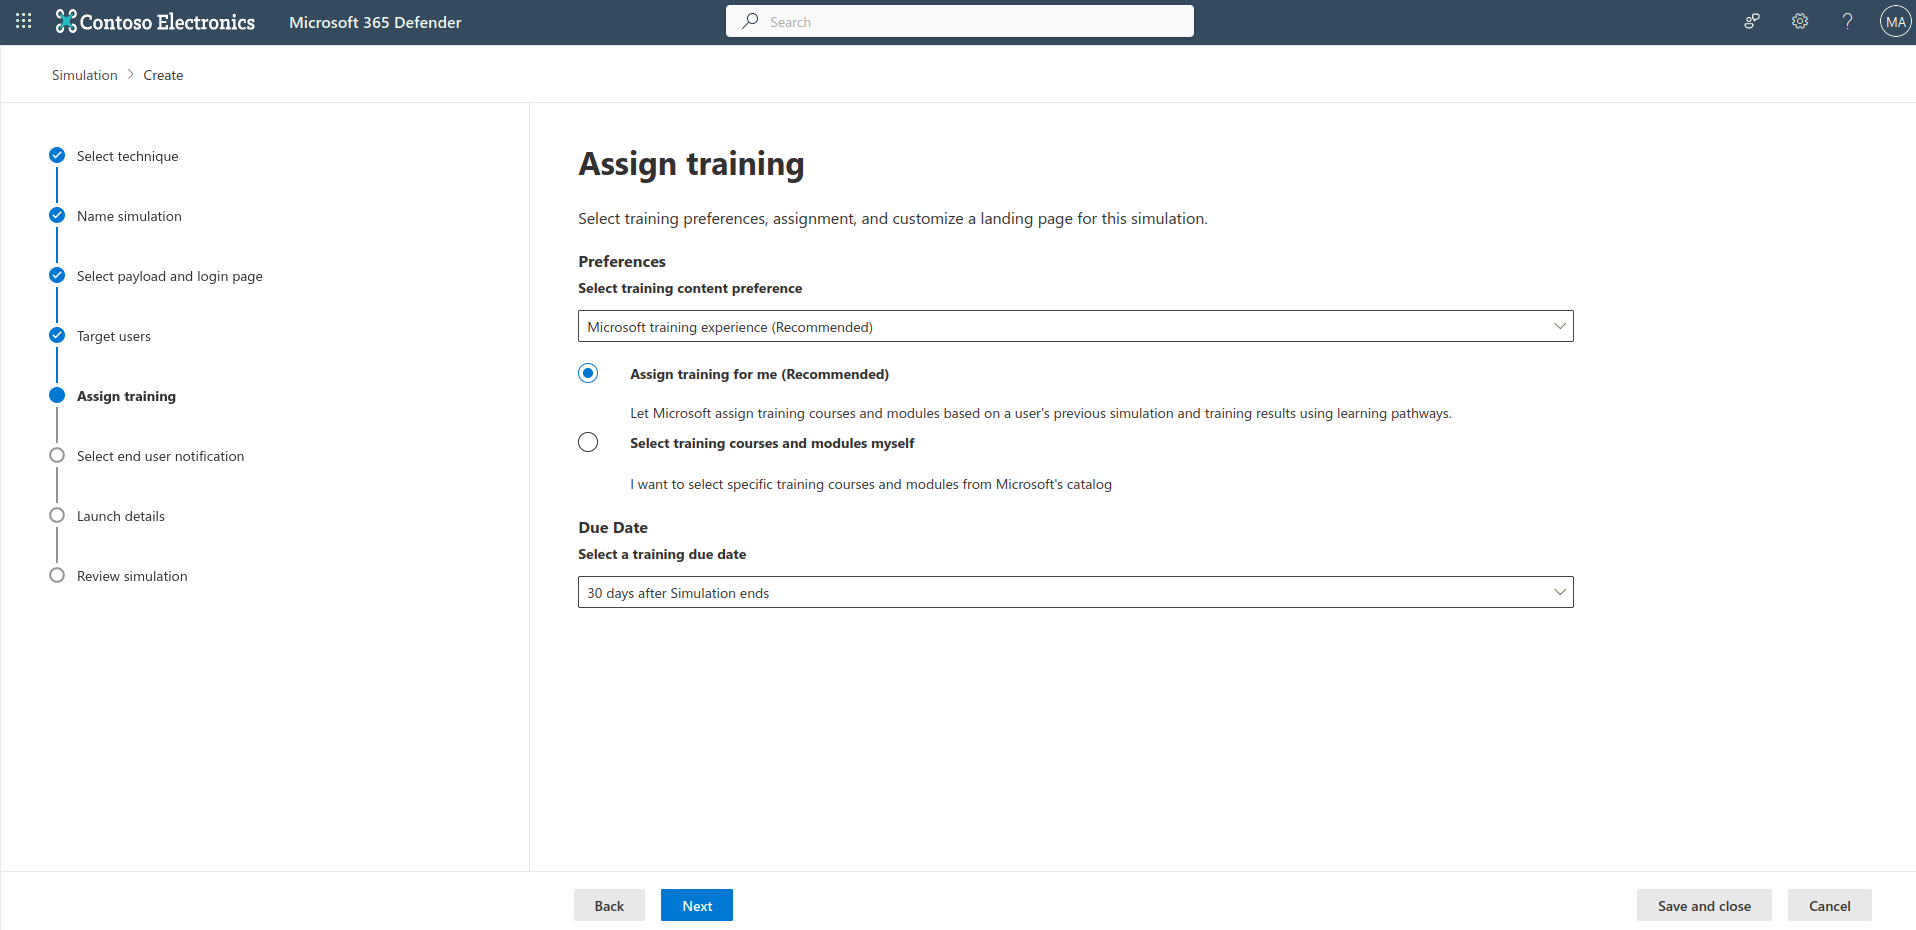
Assign training to your users. Select the option that suits your needs, then click next.
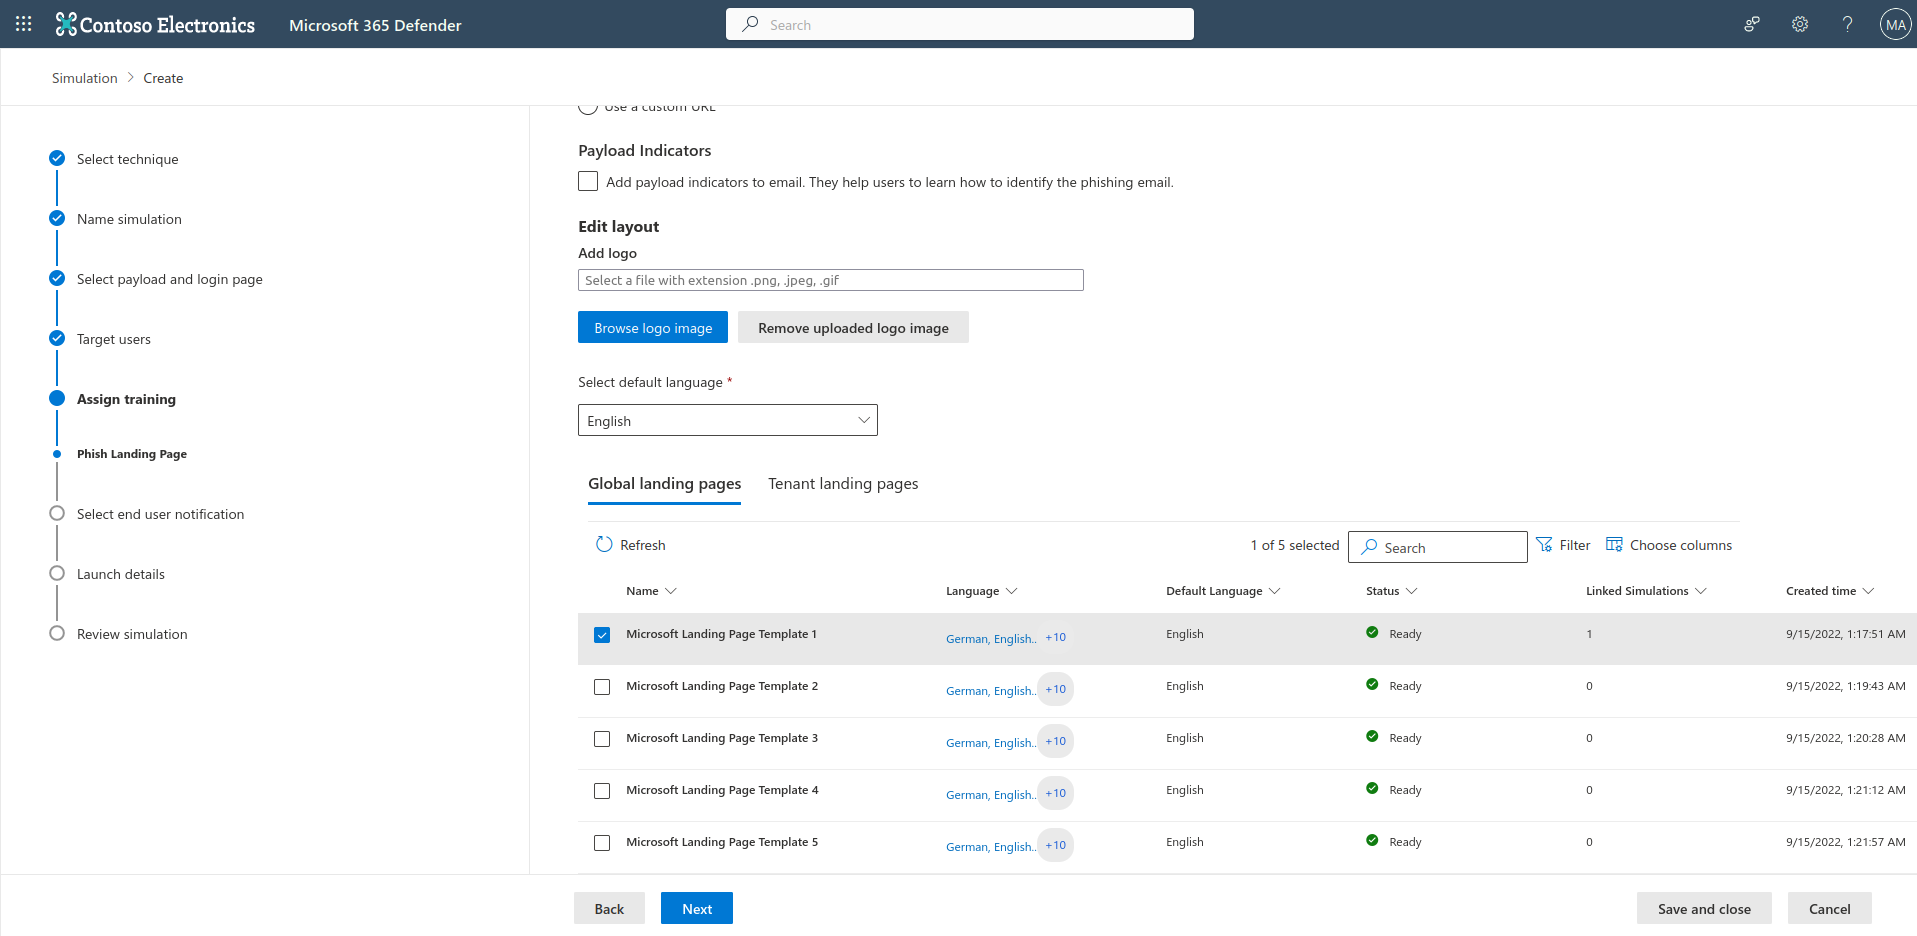
Select phish landing page template, and click next.
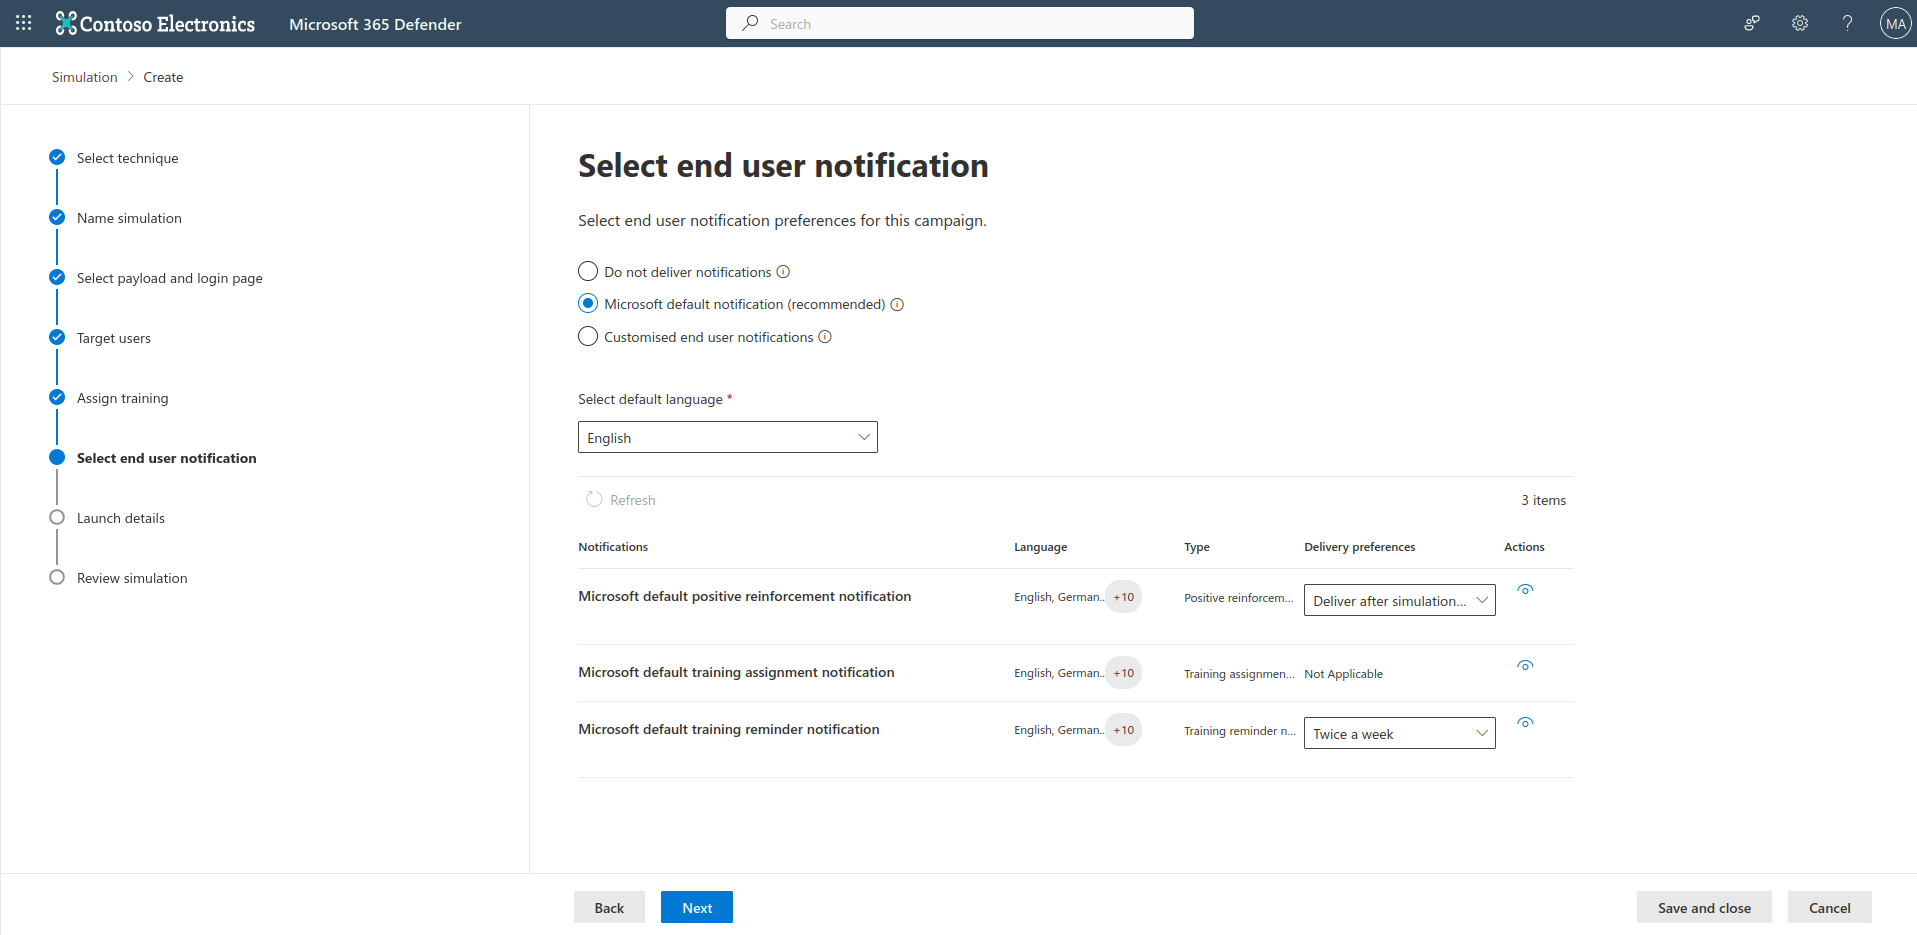
Select end user notification, that meets your needs. Select language, then select delivery preferences from drop down menus.
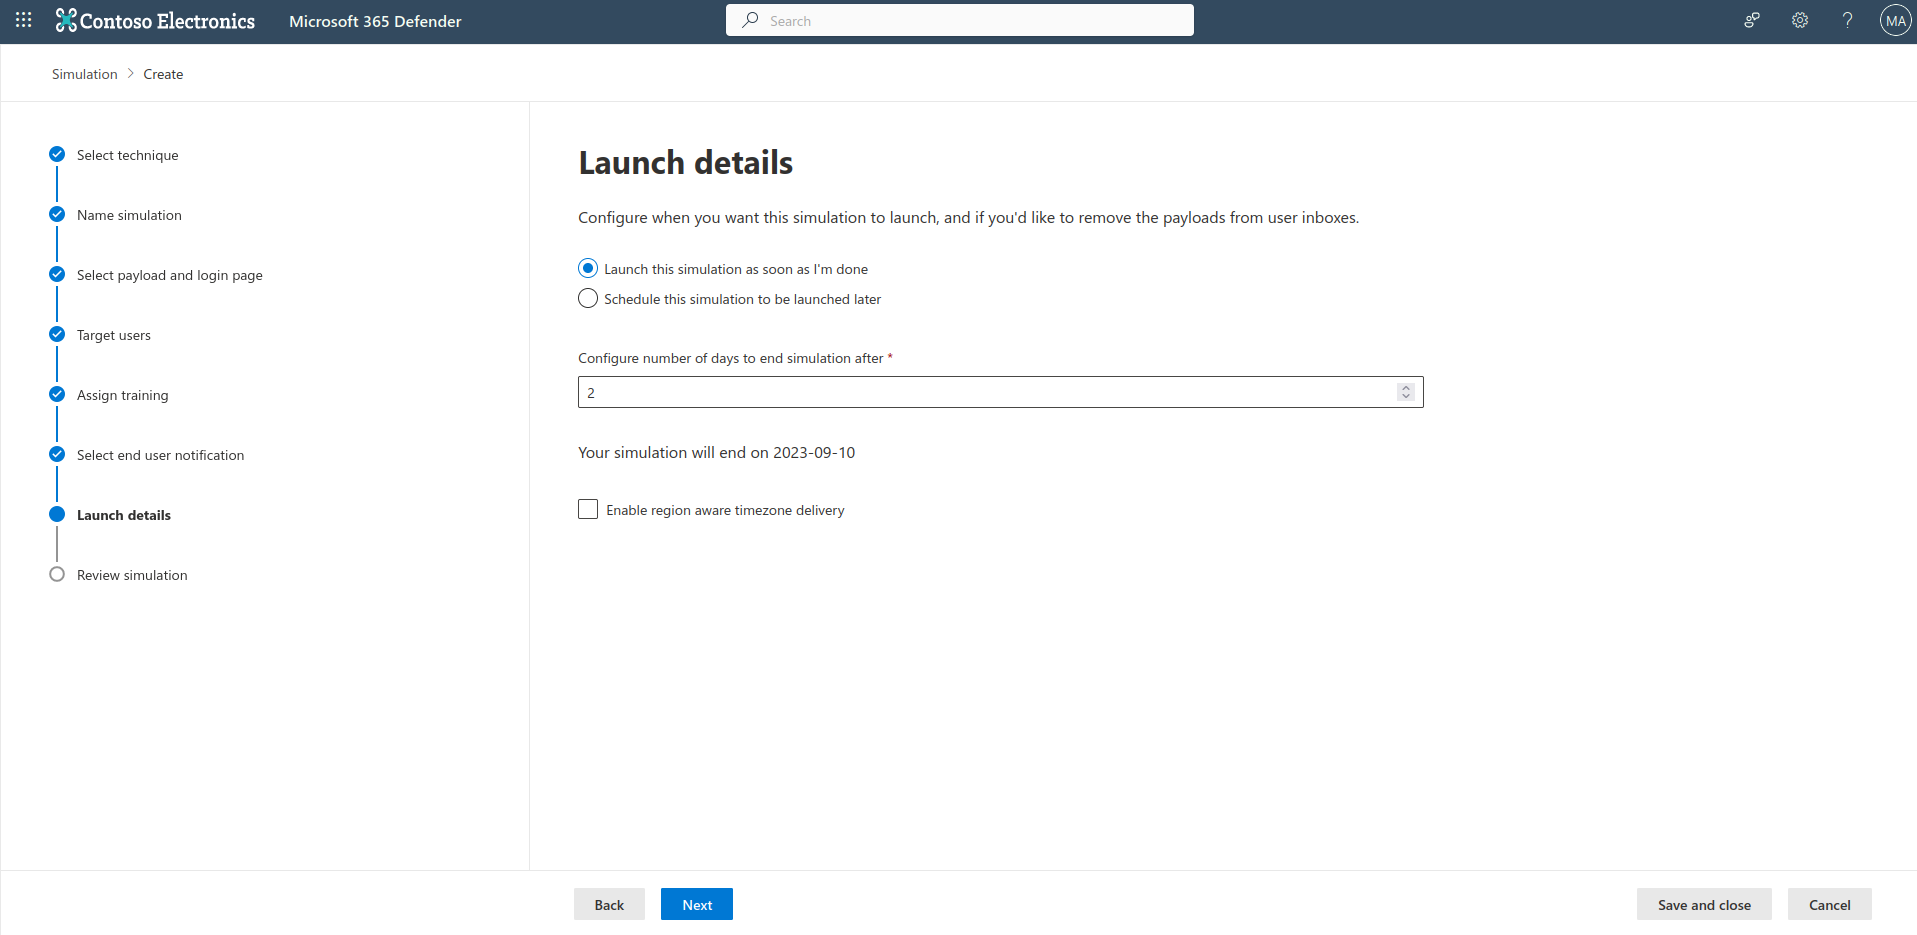
Launch the simulation, by selecting your preferred option.
Review the settings, and click submit.
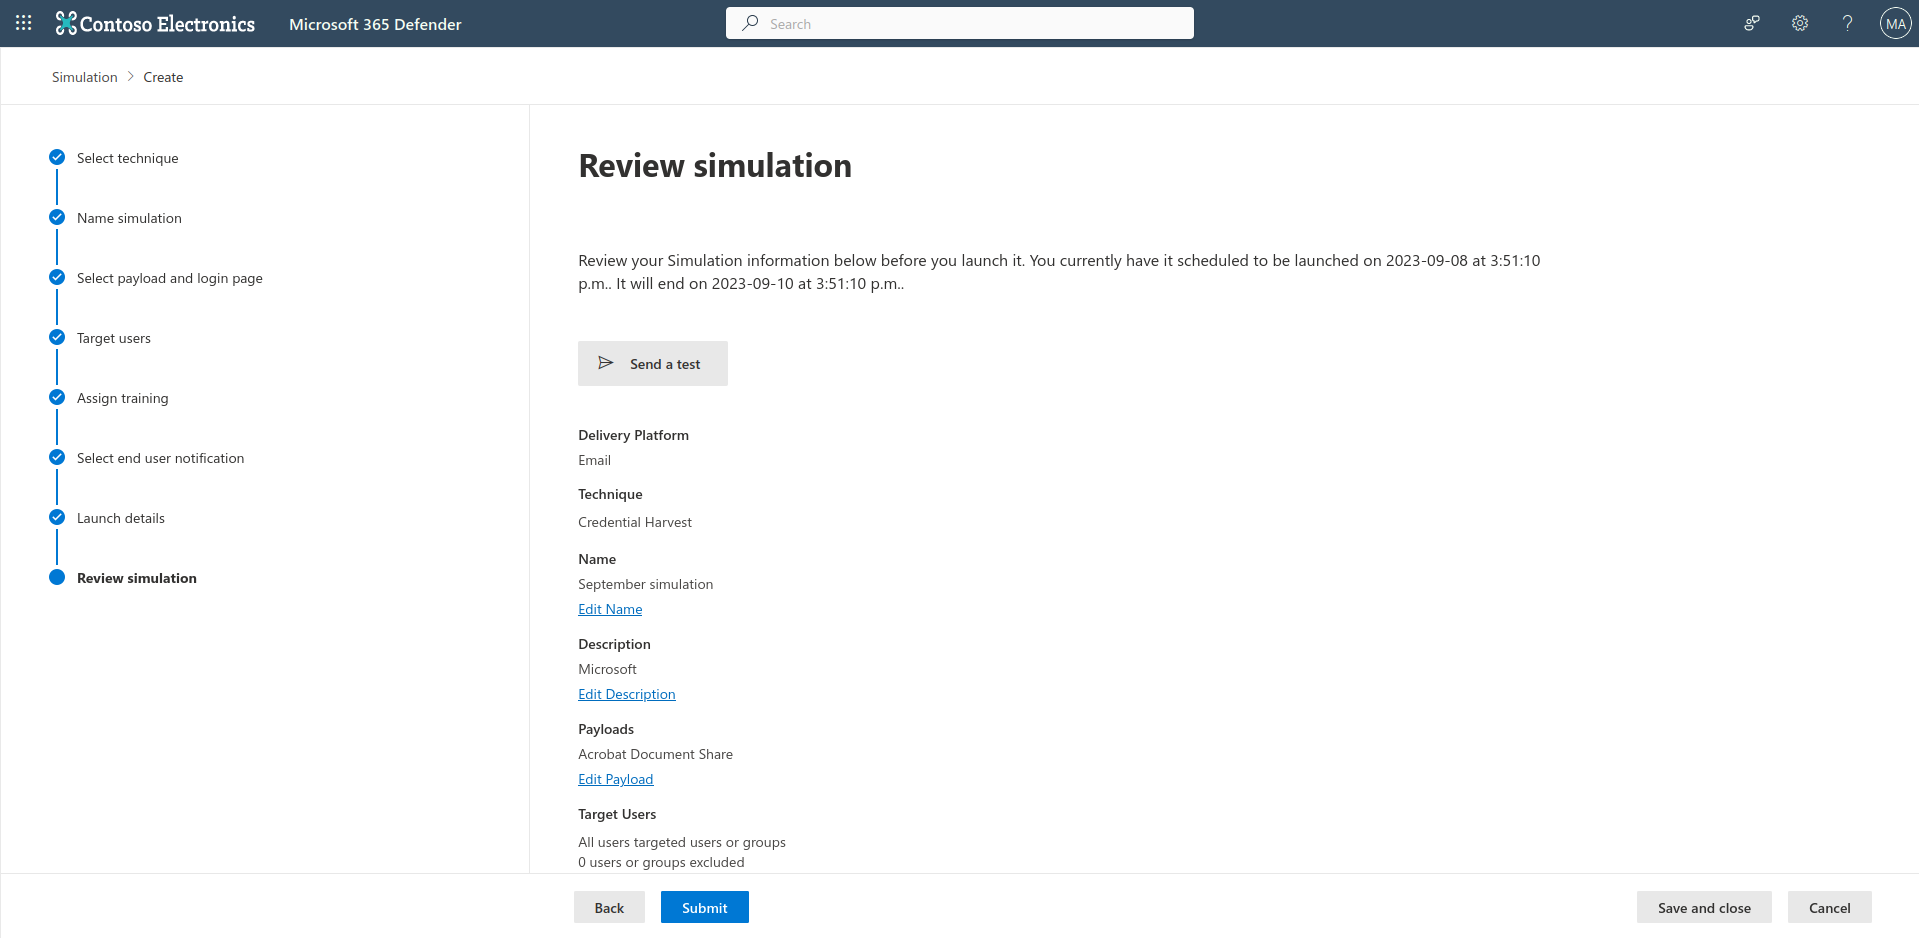
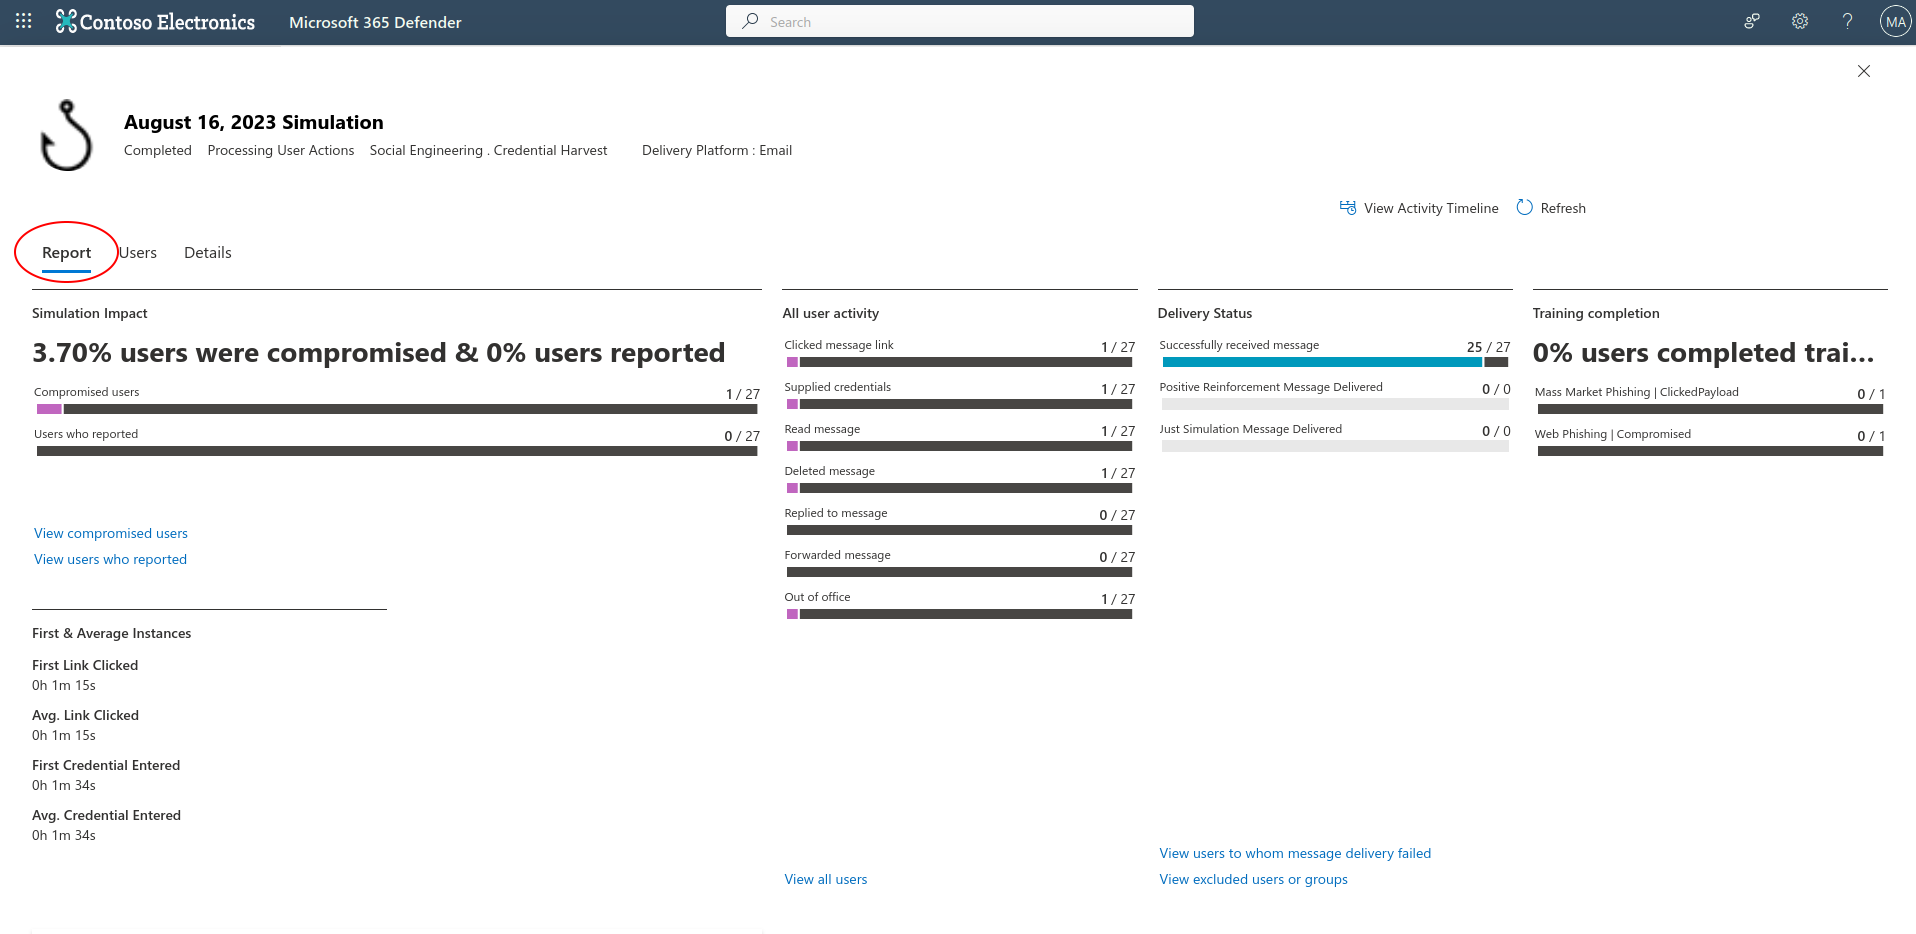
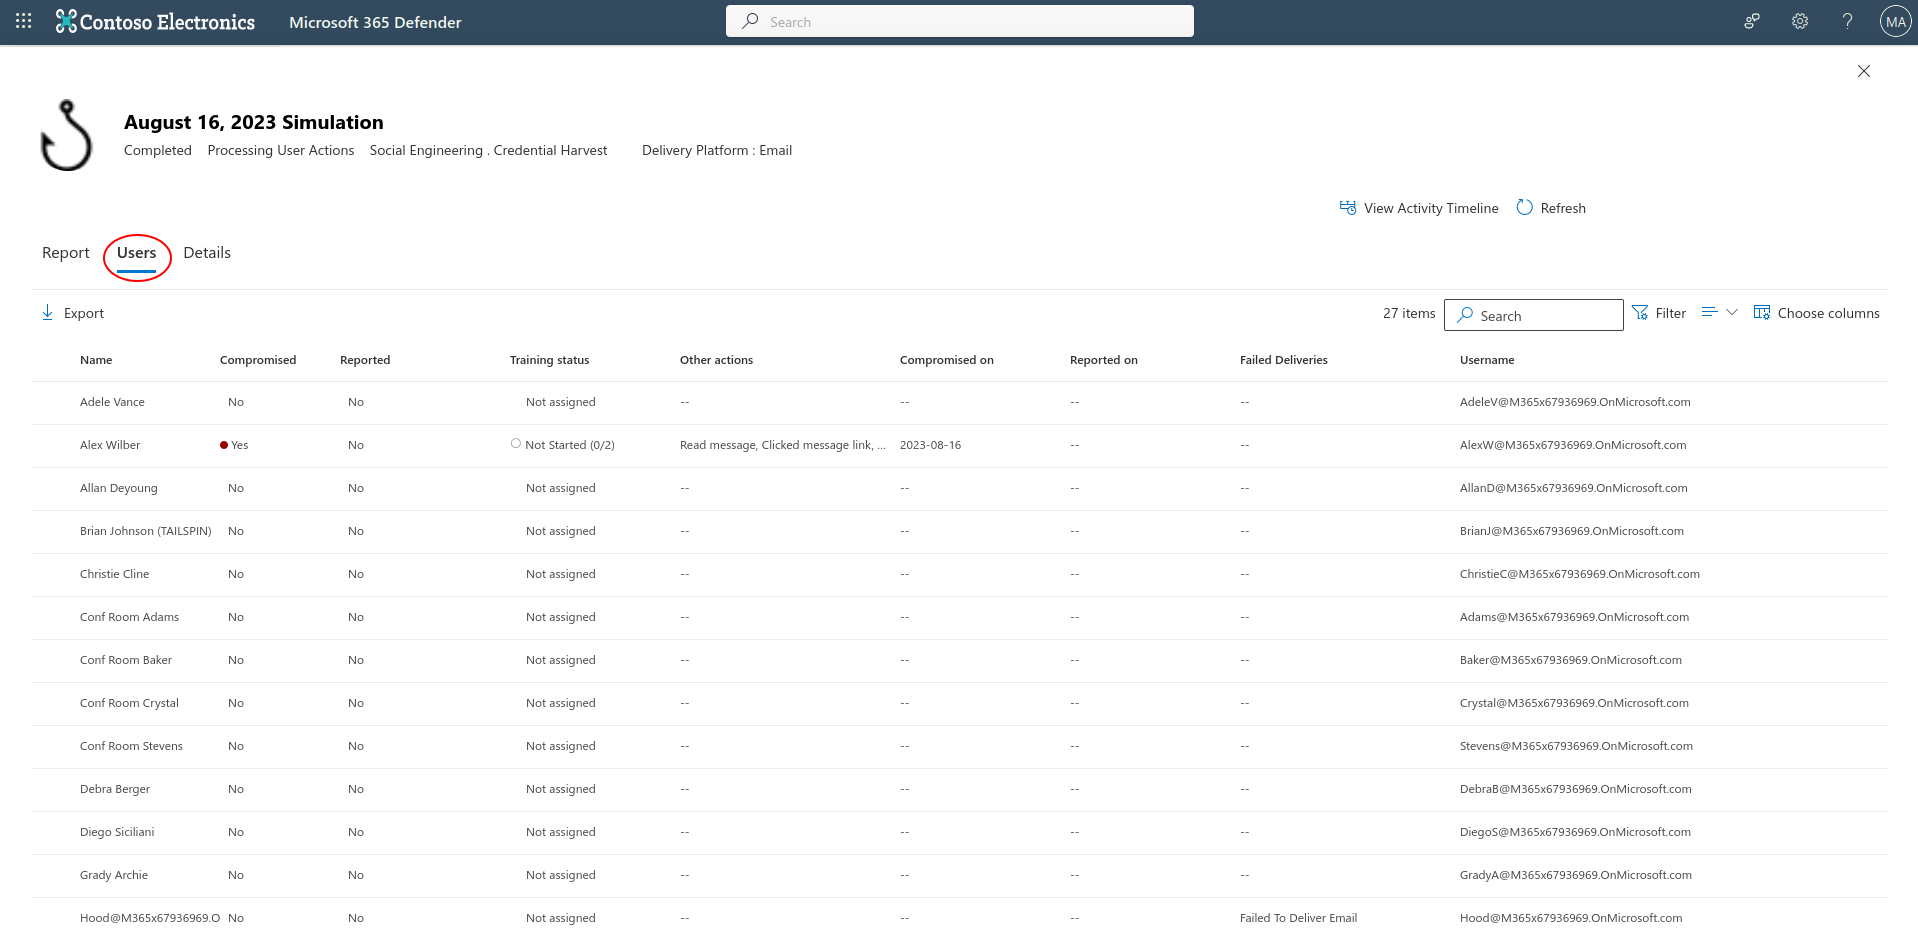
You have now launched your simulation! The users will now receive the phishing email, and it’s now up to them. As the administrator, you will be able to see the results during or after the simulation has ended. You will be able to see when users opened the email, if they clicked on the phishing link, and even if they entered credentials, or if they reported or deleted the email. If the user fell for the phishing scam, they will be redirected to website notifying them this was a test, and that they need to watch a couple training videos.
The admin can review the results from the attack simulation training page, by selecting “Simulations”, and then select the specific simulation you created.
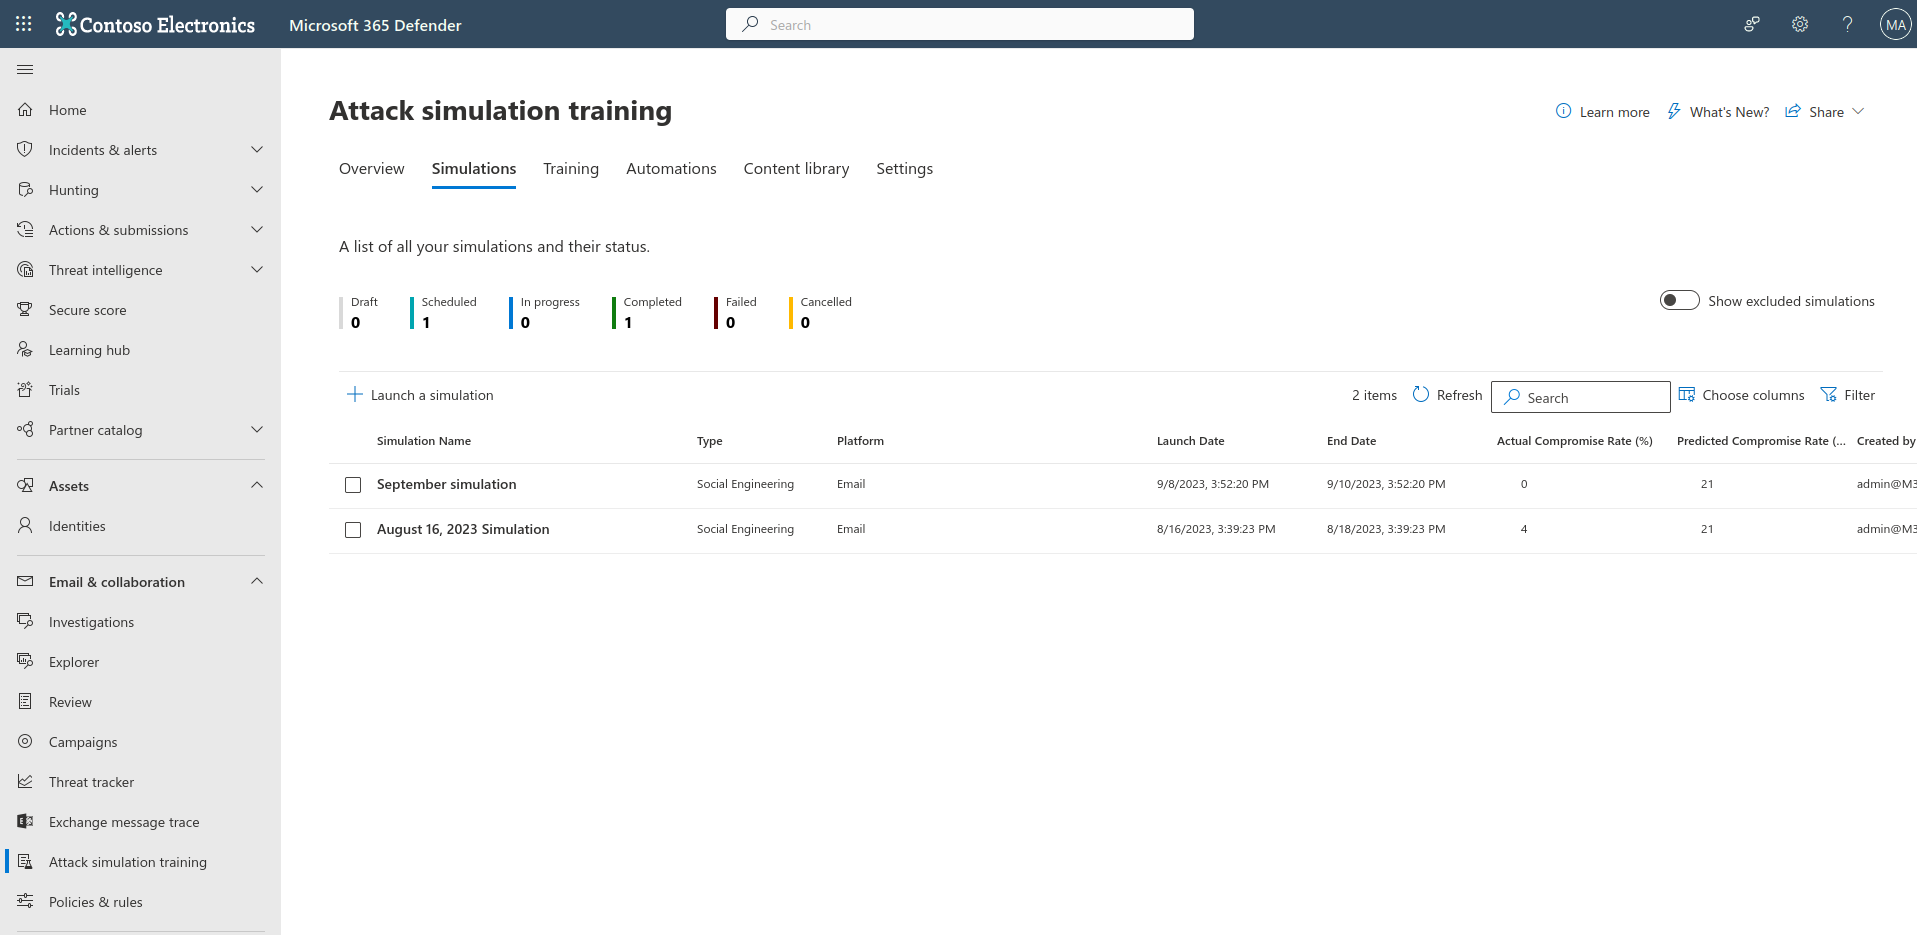
The below two images is the report, and what you can expect to see.
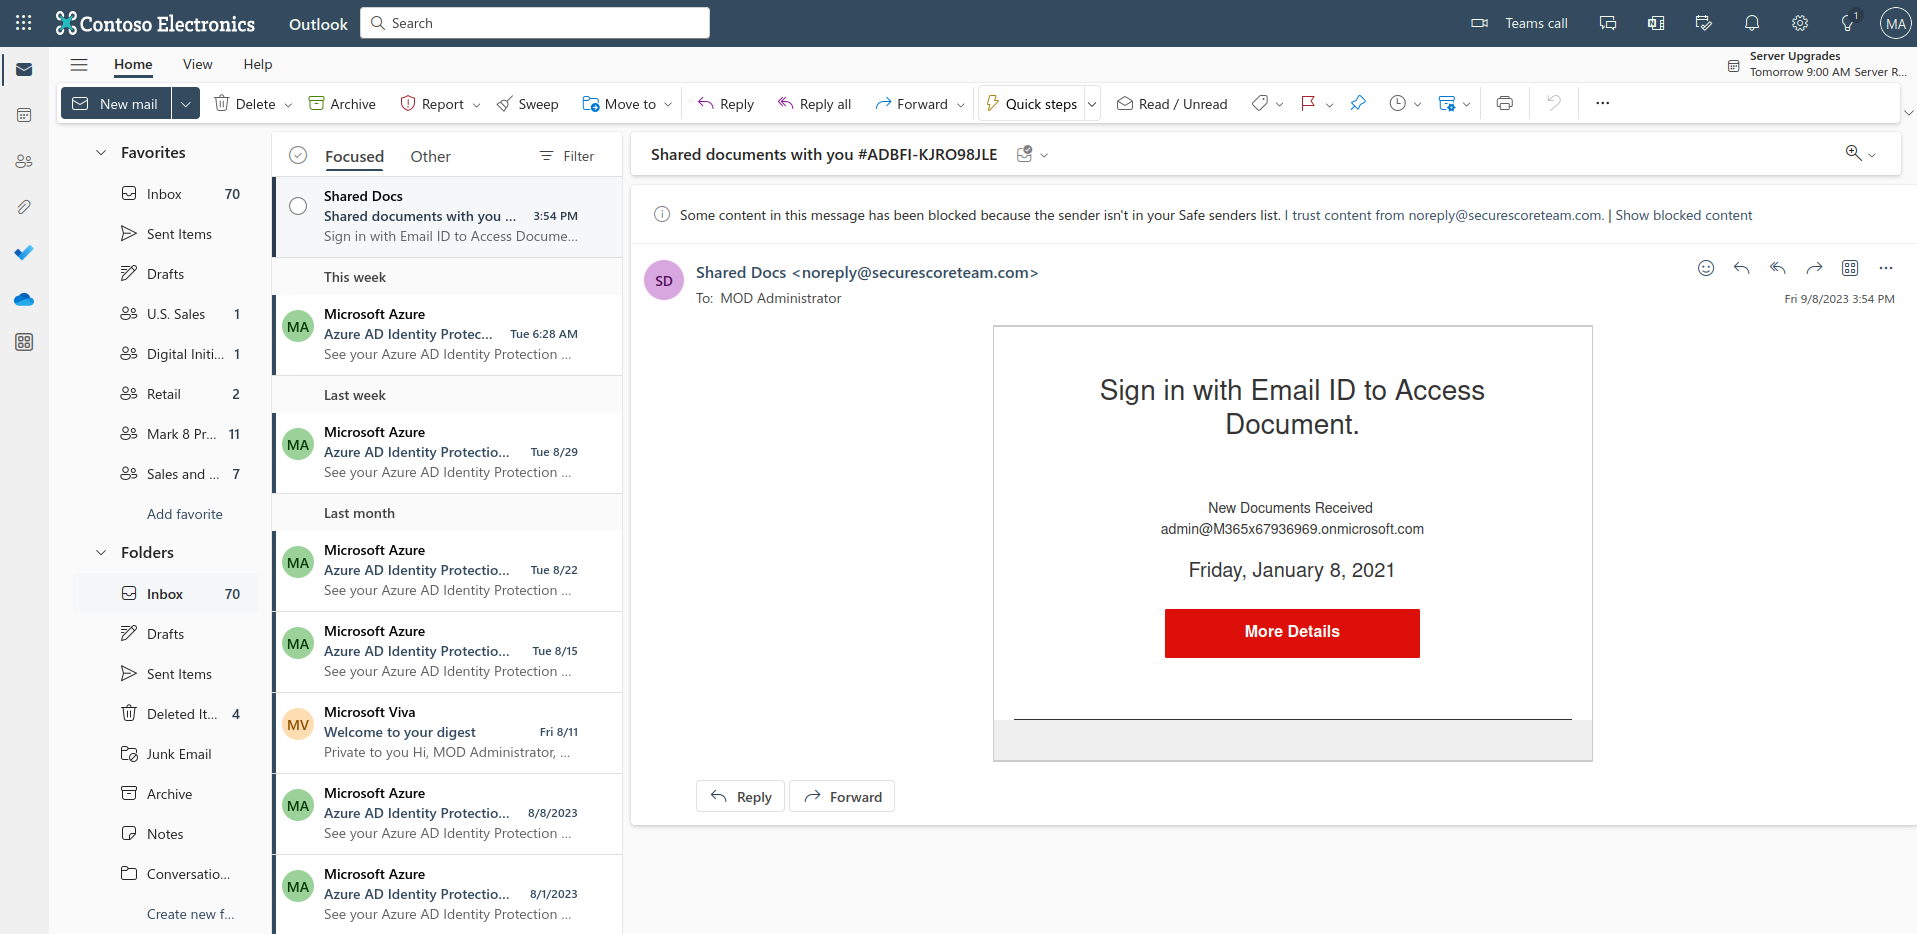
One last thing is how the phishing email looks to the end user. The below image is the phishing email from a users mailbox.
Have fun running phishing simulations!


